Lately, we shared a checklist of basic videography equipment for beginners. With that list, we aimed to get you started in the filmmaking world.
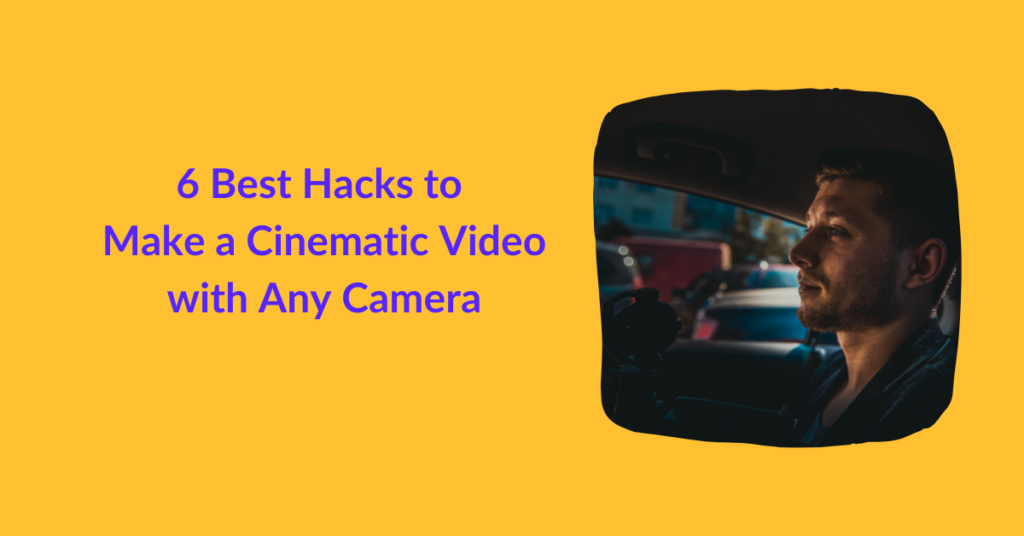
Today, we bring you the six best hacks to make a cinematic video with any camera. These shortcuts will bring a professional edge to your amateur video content. They’ll help you eliminate unwanted movement, enhance colors, and capture frames that arrest the eye.
So, without further ado, let’s dive right in!
Table of Contents
Elements of a Cinematic Video
Before we introduce you to some short and sweet ways of improving video quality, let’s check out what a cinematic video looks like.
Fundamentally, filmmaking experts consider a video cinematic if it delivers a movie-like experience. Now, a movie-like experience has a very different meaning for a field expert compared to us.
A field expert would describe the following as cinematic factors:
- High Dynamic Range (i.e., there are details in shadows and highlights)
- Shallow Depth of Field (i.e., the foreground is sharp while the background appears slightly blurred)
- Appropriate Exposure (i.e., how bright or dark the scene appears)
On the contrary, you and I (i.e., people familiar with social media videos only) would describe a cinematic video as for any video that gives us the film chills. The scene should be engulfing and arresting.
In either case, some technical elements dictate the fate of cinematic videos at the back end. These include:
- Framing
- Composition
- Lighting
- Camera angles
- Camera Motion
- Film Selection
- Lens Choices
- Depth of field
- Zoom
- Focus
- Color
- Exposure
- Filtration
Joseph V. Mascelli divides all of these elements into 5-key sections and categorizes them under the 5 C’s:
- Camera angles
- Continuity
- Cutting
- Close-Ups
- Composition
You can explore all five of these in detail here.
6 Best Hacks to Make a Cinematic Video with Any Camera
Experts demand that the attributes of a cinematic video defined above are acquired by proper, high-end gear and filming techniques. But well, that’s not quite possible for those of us shooting on a budget. Right?
So, here we’ve compiled the 6-best hacks for creating a cinematic video with almost any camera of the current times. These are cheap, easy to implement, and capable of producing impressive results.
Edit at 24 FPS
FPS refers to frames per second. It is the frequency at which consecutive images are displayed one after another. Thus, it forms moving imagery, i.e., a video. By default, there are five frame rates commonly used by videographers. These include:
- 24 FPS
- 25 FPS
- 30 FPS
- 60 FPS
- 120 FPS
Of these, 24 FPS is most recommendable. That’s because it brings about the most realistic images on the screen. It is the slowest playback rate that our eyes and brain can comprehend with absolute smoothness.
If you want to add more drama to the shot, film your video at 60 FPS or 120 FPs and play it back at around 24 FPS. That’s about 2x or 2.5x slower than the original speed of the film.
Use Color Grading
Color grading can fix recording errors and breathe new life into your shots. It refers to adjusting the:
- Contrast
- Color Balance
- White Balance
- Black Level
- Saturation
- Luminance
Note that color grading is different from color correction. The latter refers to removing faults in recorded media, such as eliminating skin marks or readjusting composition. In comparison, color grading is a creative approach to give a persona and stylistic effect to the shot video.
Hence, there’s no formula to do it right. All you’ve to do is film your video and transfer it to your editing software such that all your clips are in one color space. After that, proceed with color corrections to fix technical issues. Next, import LUTs (Look-Up Table) in your editing software and color grade your video.
If you’re not sure which LUT will best suit your video, study the color wheel and determine the vibe of your video. Using this data, experiment a bit with LUTs and pick a suitable LUT. Here’s a list of the 7 best free LUTs for cinematic videos.
In case you still find yourself stuck, please connect with us at editvideo.io. Our team of expert video editors would love to help you pick the best LUT for cinematic shots.
But it’s highly necessary to color grade recorded media because it creates the atmosphere and emotion you wish to convey. Even if you’re filming with low-budget gear or even with a phone and manage to color grade your video well, you’ll end up with a super professional-looking video.
Shoot using the 180-Degree Shutter Rule
The 180-degree shutter rule is a go-to technique to shoot cinematic videos. To understand this, let’s first familiarize ourselves with a shutter speed.
Shutter speed refers to the speed with which the lens of the camera opens and closes during each frame. This, in turn, demands the amount of light entering the lens and coming in contact with the sensor. If the shutter speed is slow, more light enters, and the video captured by the camera is brighter but with greater motion blur. When the shutter speed is fast, lesser light enters, and the video captured is dark but defined. For cinematic shots, you should be aiming for faster shutter speeds as these will capture greater details and depth.
Note that we measure shutter speeds in fractions of seconds. So, comparing 1/125 and 1/800, the latter is faster.
The 180 Degree Shutter Rule states that you should set your shutter speed, such that it’s double your frame rate. It should satisfy the following equation:
- 1/2xwhere x is your frame rate.
For example, if you’re shooting at 24 FPS, your shutter speed should be 1/48th of a second.
Similarly, if you’re filming at 30 FPS, your shutter speed should be 1/60th of a second.
Why? Well, this is an optical trick that makes scenes appear smooth and natural. If you slow down the shutter speed, the video on the screen will be jerky. The same applies if you keep a 1:1 ratio.
With the 180-degree shutter rule, you can acquire aesthetic shots.
Create Shallow Depth of Field
Depth of field refers to how much of the content on your screen is in focus and how much is out of focus. Or you can say it is the distance between the nearest and farthest objects on your screen that appear acceptably sharp.
You can opt for either a deep depth of field or a shallow depth of field. In a deep depth of field, a larger area is in focus, while in a shallow depth of field a smaller or more specific object is in focus. As a result, shallow depth of field draws the focus of the viewer to a particular subject. Thus, it intensifies the feel of the scene and brings about a cinematic edge.
Use Light Diffusers
Diffused light basically refers to scattered light. In cinematography, such a light is acquired by placing a translucent material (known as a diffuser) in front of your light source. It scatters the sharp rays of light such that the rays seem to be coming from all directions in the filmed scene. And thus, the scene appears brighter but softer. The shadows are also blended and barely noticeable, which brings your subject to focus. Diffused or soft light also gives a good cover to blemishes, wrinkles, and other things that may require editing afterward.
You can use a soft box or umbrella to diffuse the light. But if you’re on a budget, you can also use shower curtains or diffusion paper. Know that the trick here is to cover the light source with the diffuser so as to kill the hardness of the light. Softer light will land you in softer scenes. And hence, bring the subject to focus.
Include Wide Screen Bars
Ever noticed the black bars at the top and bottom of the screen? Well, technically the purpose of these bars is to adjust the frame to fit the resolution of the device. In this way, the video quality doesn’t become distorted irrespective of the device you view it on. It is more commonly recognized as letterboxing.
Experts recommend using this effect to make your videos look more professional and cinematic. The wider the bars, the more cinematic it looks. Just make sure it doesn’t steal away your actual frame.
If you’re using these for social media videos, you can even add text at the top and bottom bars. But choose a suitable font size, type, and color!
Wrap Up Well
We hope our list of best hacks to make a cinematic video with any camera helps you capture some awesome shots. And if you’re wondering whether they’re applicable for smartphones or not, know that they are! You can use all of these hacks for phone cameras except the 180-Degree shutter rule because not all smartphones offer flexibility in terms of frame rates. Rest is good!
Also, when filming for cinematic results, focus more on the last scene during filming and editing. Work to make the ending scene most cinematic of all.
Why? That’s because this scene will dictate your audience’s opinion about your work. It will have the most long-lasting impact.
We at editvideo.io, have some epic ways of making your video’s last frames stick with the audience. Send in your video today and allow us to demonstrate!