Matti Haapoja, a renowned film enthusiast, practically demonstrated that the results of the Canon 1DX Mark II and Apple iPhone 11 Pro are almost identical.
In bright light and low light, both the lenses caught equally clear and stunning pictures. You could upload the one captured by iPhone 11 Pro on Instagram and caption it:
Captured with 1DXII
No one will question! How cool is that?!
Currently, Canon 1DX Mark II costs about $4500 – $6500, while iPhone 11 Pro costs only $900 – $1000.
So, you get the same professional results at only a fraction of the real price. You can check out more of Matti Haapoja’s detailed comparison between an Apple iPhone and a professional camera’s results in this YouTube video.
Note that he shared this video with us about two years ago.
We repeat: about two years ago.
Apple has upgraded significantly ever since. The competition between an Apple iPhone camera and a professional camera has become even tougher.
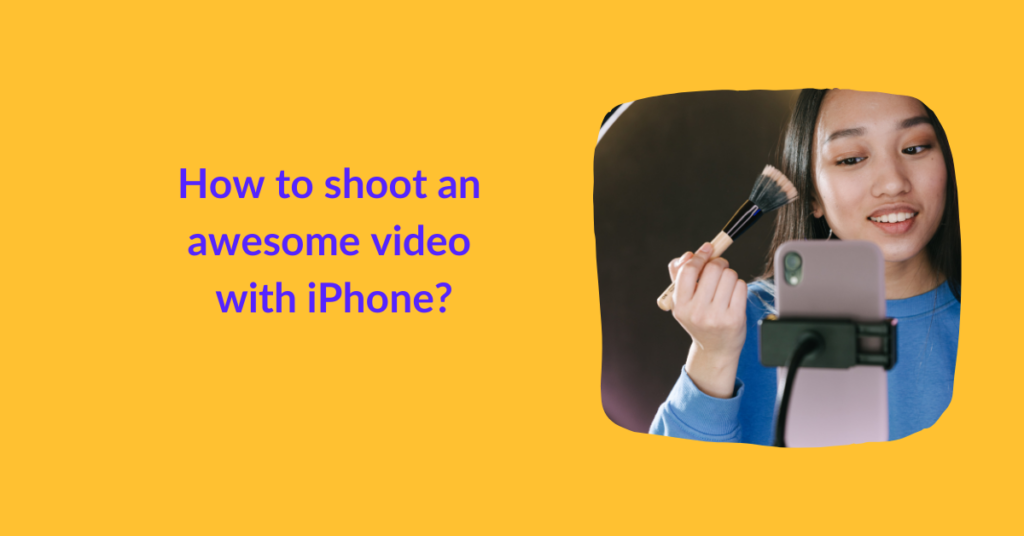
In this guide, we’ll explore the subject in detail. We’ll look into the best Apple iPhones for videos, assess their potential, and learn how to shoot an awesome video with iPhone. We’ll be covering everything from basic video recording with iPhone to hacks shared by video experts.
Brace yourself!
Table of Contents
Best iPhones to Shoot Videos
As of 2022, the latest iPhones released are:
- Apple iPhone SE – Released on 24 April 2020
- Apple iPhone 12 Mini – Released on 13 November 2020
- Apple iPhone 12 – Released on 23 October 2020
- Apple iPhone 12 Pro – Released on 23 October 2020
- Apple iPhone 12 Pro Max – Released on 13 November 2020
- Apple iPhone 13 – Released on 24 September 2021
- Apple iPhone 13 Mini – Released on 24 September 2021
- Apple iPhone 13 Pro – Released on 24 September 2021
- Apple iPhone SE (Third Generation) – Released on 8 March 2022
And we’re expecting iPhone 14 and its related models to show up by September 2022.
Among these, the best iPhones for videography include both the iPhone SE models and iPhone 12 Pro.
iPhone SE comes equipped with a 12 MP camera, while iPhone 12 Pro offers a 12 MP triple camera. It features a wide lens, ultra wide lens, and telephoto lens. The front camera is 12 MP too.
There are other models with 12 MP too. However, these two models seem to have performed best for videography needs.
Why? Well, that’s because their sensors and other technical specifications work well with iPhone’s camera features. We’ll be covering these features under Play with Built-in Features.
With that said, you now have your references for which iPhones will work best for shooting an awesome video. If you do not have any of the two best models, that’s okay too. Later in this post, we’ll be guiding you on how you can tackle the situation.
How to record a video with your iPhone?
To begin recording a video with your iPhone, open the camera app on your iPhone. Choose the video and click on the record button. Once the phone’s recording, you can pinch in and pinch out to zoom in and zoom out respectively. Once done, click on the record button again to stop recording.
You can also record in photo mode. Just hold the shutter button at the bottom of the screen or slide it to the right to lock your iPhone in video recording mode.
Note that there’s no limit to the number and length of videos you can record with your iPhone. It all depends on the available space.
For example, if you’ve got an iPhone with 32 GB, chances are the Apple iOS, pre-installed app, music, and photos would be taking up 20 GB of space, leaving you with 12 GB space for recording a video. Depending on the resolution you choose and the settings you choose, you can record one or multiple videos. You can check the storage in settings.
Play with Built-in Video Recording Features
Apple iPhone records much better videos than other smartphones because of the built-in features. In each iPhone, there are a lot of settings you can play with, and these include:
Resolution:
Resolution basically refers to the number of pixels captured in each frame. It determines the quality and clarity of the video recorded.
All existing iPhones can record media at 720p and 1080p HD. iPhone 6S series and up can also record in 4K resolution.
By the rule of thumb, the greater the number, the better the resolution. You should opt for 4K to shoot a professional video. But note that it’s going to take up space too.
One minute-long video at 720p takes up anywhere between 40 MB – 60 MB, while one minute 4K video takes 135 MB – 270 MB.
The lower bound of the mentioned range is due to the HVEC feature offered by the latest iPhones. You can activate it in the settings. Basically, HVEC stands for High-Efficiency Video Coding. It makes the same video content 50 percent smaller with no loss of image quality.
Frame Rates:
Frame rates are the key to image stabilization, and image stabilization is the real game-changer. This feature gives a professional feel to your iPhone recorded videos. It eliminates the shakiness that moving hands or moving objects may cause. It also makes every frame that you shoot appear distinctively.
Currently, iPhone offers different image stabilization options with different resolutions. You can opt for:
- 720p HD at 30 fps
- 720p HD at 60 fps
- 1080p HD at 30 fps
- 1080p HD at 60 fps
- 1080p HD slo-mo at 120 & 240 fps
- 4K HD at 24 fps
- 4K HD at 30 fps
- 4K HD at 60 fps
FPS refers to frames per second. By the rule of thumb, the greater the number, the smoother your video will be. Also, note that 4K options apply to recently released models only.
Automatic Focus & Exposure Lock
iPhone allows you to capture videos focused on one object. And this is a fantastic feature for anyone who’s recording while traveling. Open the camera app, opt for the video recording mode, tap on the object you want to keep in focus and hold for a few seconds.
Apple will automatically lock this object in focus, and AE/AF lock will appear at the top of the screen. Now, even if you move the camera, the focus of the lens will not change. Note that exposure of the phone automatically adjusts around the object of focus.
Useful Tips to Record Awesome Videos with iPhone’s Camera App:
- Record your video under sufficient light, preferably daylight.
- If your iPhone features multiple cameras, click on the 1x that appears on the screen. You can switch to a different lens by clicking on it. Settle for the lens that suits your video content type.
- Use slo-mo and time-lapse to your advantage.
- Avoid using digital zoom.
Enhance with Apps
Although Apple iPhone offers the best video recording features among all smartphones, there are a few video recording apps that can take it to the next level.
We recommend:
- MoviePro
- Pro Cam 8
- VivaVideo Pro
These video recording apps do not only allow you to adjust resolution, frame rates, brightness, etcetera. You can also adjust audio quality, duration of the video, set timers, add date stamps, etc. The only drawback here is that you’ll have to pay for these apps.
Use External Equipment
In case you have an older iPhone, which lacks the recent features, or if you wish to acquire super professional results, we advise you to invest in external video recording equipment. They will cost you something, but it’s still a lot cheaper than buying a professional camera!
The three essentials to have are:
- Tripod for added stability
- Proper lighting for bright and vibrant videos
- Microphone for clear audio
Using a tripod is easy. You can find yourself the best tripod for iPhone from this list, attach your iPhone, place it in a comfortable position, and get going.
But setting up the lights is a bit of a technical process. We commend reading this guide to a 3-point lighting setup before you buy. But if you’re short on time, go for a ring light. It’ll do the job.
As for the microphone, it’s best to go with a boom mic or lavalier mic. You can pick one that fits your budget and needs from this list of best microphones for iPhones.
The right combination of external equipment can land you some premium quality video content that may not require heavy editing. So, educate yourself before purchasing!
F.A.Qs
Yes. You can enhance image stabilization after recording the video using an iPhone app or a free video editing app. However, these apps can only fix slight shakiness. For visibly shaky video, you may require a professional video editor’s assistance.
Yes, you can change the video resolution of the video using third-party apps. We, at editvideo.io, can help you with that too! 🙂
For recording a YouTube video with your iPhone, make sure the resolution is 4K or up. Opt for 60 fps or more than that and record a video that’s at least 15 minutes long. Make sure you edit it before publishing. If you want professional looking edited video, you can outsource your videos to editvideo.io
Use External Equipment
Summing up, how to shoot an awesome video with iPhone, we’d say:
- Choose the right lens
- Opt for the highest resolution
- Opt for the highest frame rate.
- Set your phone on HVEC
- Lock focus on an object
- Use external equipment to enhance media quality
- Edit your video to enhance the results
If you’re recording personal videos for your Facebook, Instagram, Tik Tok, or Snapchat, it’s safe to record and edit on your own using your iPhone’s basic camera app and free video editing third-party apps.
However, if you’re recording for YouTube or videos for your business, it’s best to hire a professional video editor. A professional take on these videos can help you make the most of them. They’ll get you a better reach, engage your audience better, and give a reliable edge to your video content. Good luck!